Using the conference system
Overview
Breakroom's conference system consists of several collaborative and interactive tools, as well as in-world seating options and breakout areas. This quick-start guide is intended for new event attendees, and explains:
- Where to find the conference system tools
- How to use voice chat
- How to turn on your webcam
- How to share your screen
- How to change the location of your on-screen video feed
- How to use emoji reactions and raise your hand
- How to submit a question to the Moderators
- How to sit down in an audience seat and use the built-in gestures and camera system
- How to use presenter seats
- How to use breakout areas
- How to get around an event Region
Users with Moderator permissions can find more information about the moderator tools in our Running Your Event section. If you encounter any technical problems, you can also find more information on troubleshooting common audio and video issues.
World Owners and World Administrators can enable and disable parts of the UI via the Dashboard. You may not have access to every function described in this section.
Conference system tools
Pictured: The conference system tools, located at the top of the screen.
For most attendees, the conference system tools fall into two categories—communication and navigation. Upon entering a conference Region, you'll likely see the conference toolbar appear at the top of your screen. You may also see the Start Here panel appear in the upper left corner.
Communicating at an event

Pictured: The conference toolbar.
The conference system communication panel allows you to access voice chat, share your screen, react with emojis, and more. Here's a brief overview of the UI.
| Button | Function |
|---|---|
| Microphone | Toggles your microphone within voice-enabled zones. |
| Presentation | Toggles your webcam or screen sharing within video-enabled zones. |
| Screen Appearance | Allows you to control where video streamed by other users appears on your screen. |
| Device Settings | Allows you to change your device settings and troubleshoot common audio and video issues. |
| Emoji | Opens the emoji menu, where you can choose from several animated emojis (such as clapping hands). These emojis will float over your avatar's head. |
| Animations | Allows you to emote via single-person gestures while seated in a conference area. |
| Camera | Adjusts your camera angle while seated in a conference area. |
| Raise Hand | Causes a hand icon to appear over your head until dismissed. Useful for impromptu polls, audience questions, and more. |
| Question | Allows you to submit a question for Moderator review. |
Voice chat

Pictured: The Microphone button, currently toggled On.
If voice chat is available in your current location, you will see the Microphone button appear in the conference toolbar. To get started with voice chat, follow these steps.
- Click the Microphone button. A pop-up will appear asking you to grant Breakroom permission to access your microphone. To continue, click the Enable button.
- Once activated, the microphone icon will highlight (as pictured above). This indicates that your microphone is live, and that other users can hear you in voice chat.
- To mute your microphone, click the Microphone button again. You'll see a slash appear through the icon, indicating that other users can no longer hear you.
Depending on the setup of your Breakroom World, you may have access to additional communication options, such as text chat and in-world email.
Webcam streaming

Pictured: The Presentation button.
If you move your avatar into an area where you have permission to share your webcam, you'll see the Presentation button appear in the conference toolbar. To start streaming video, follow these steps.
- Click the Presentation button. In the menu that appears, click Share Camera.
- A pop-up may appear asking you to grant Breakroom permission to access your camera. To continue, click the Accept button. You may also be asked to activate your microphone.
- Once activated, the Presentation button will highlight. This indicates that your webcam is live, and that other users can see you.
- To turn off your webcam, click the Presentation button again. In the menu, click Stop Sharing.
Screen share
Likewise, if you move your avatar into an area where you have permission to share your computer screen, you'll see the Share Screen option appear in the conference toolbar. To get started, follow these steps.
- Click the Presentation button. In the menu that appears, click Share Screen.
- A pop-up may appear asking you to grant Breakroom permission to access your computer. To continue, click the Accept button.
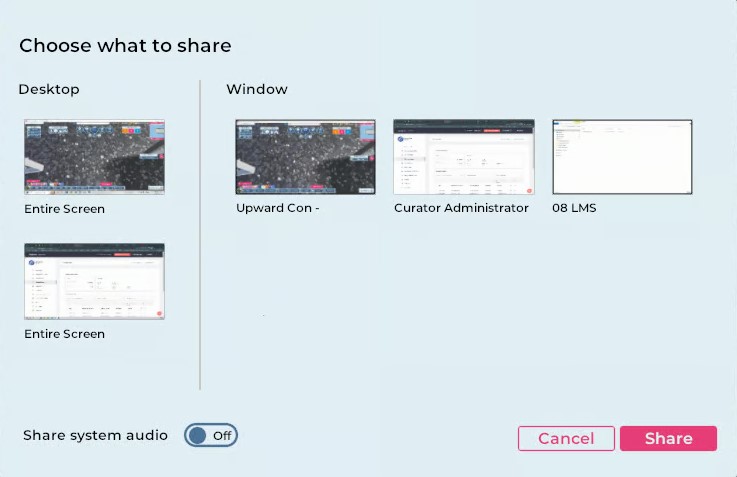
Pictured: The screen share control panel.
- The screen share control panel will appear on your screen. Here you can choose a desktop or individual screen to share. You can also choose whether or not to share your computer audio by toggling the Share system audio option.
- When you are satisfied with your choices, click the Share button. If you've elected to leave voice chat off, you may be asked to confirm this decision.
- Once activated, the Presentation button will highlight. This indicates that your screen is live, and that other users can see what is happening on your computer.
- To stop sharing your screen, click the Presentation button again. In the menu, click Stop Sharing.
Screen appearance

Pictured: The Screen Appearance button, currently toggled to See In World mode.
By default, when users share their webcam or computer screen the video will be displayed on an in-world screen. The Screen Appearance button allows you to "detach" streaming media from the in-world screen for better viewing.
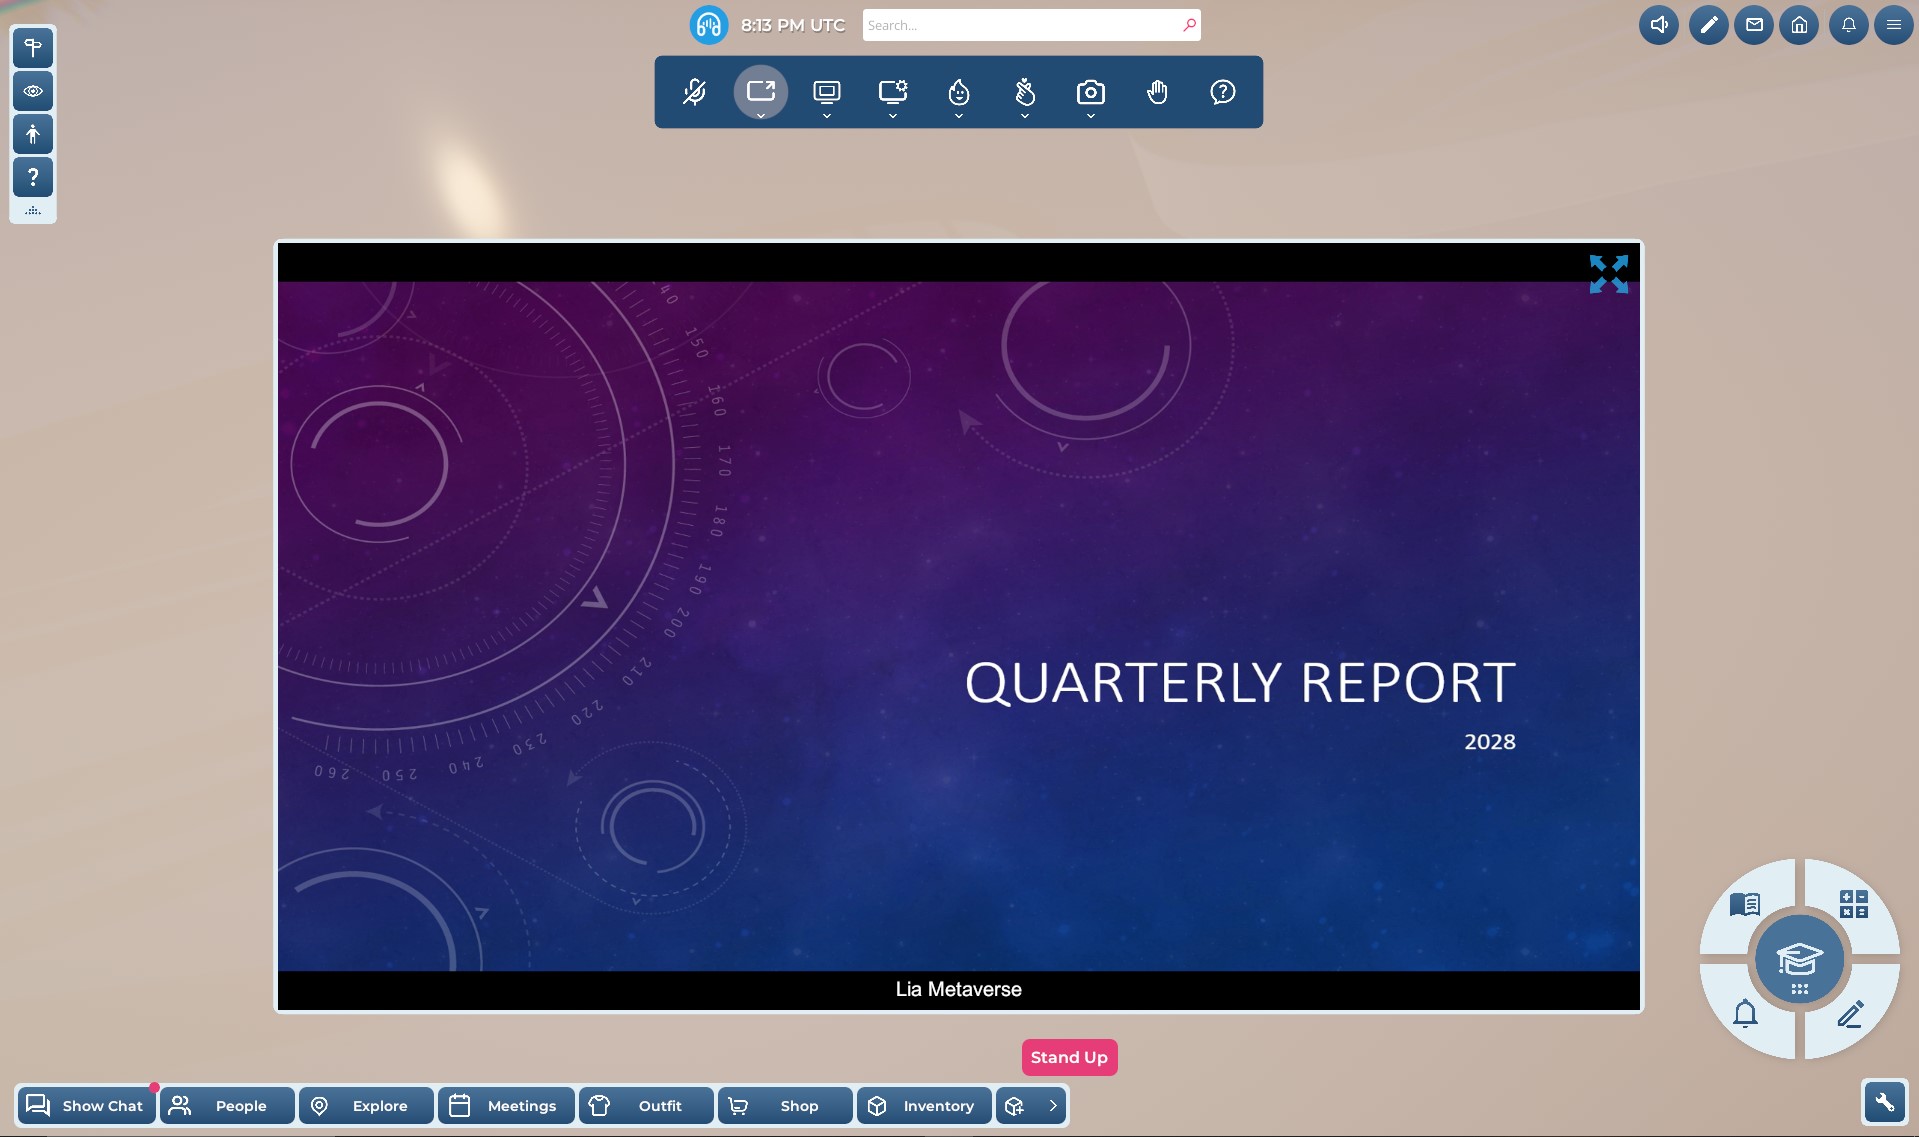
Pictured: A shared screen displayed through "See on Screen" mode.
By toggling "See on Screen" mode, you can view streaming media in a separate window. You can expand this window by clicking the full screen toggle in the upper right corner.
If multiple presenters are streaming media at the same time, you will see multiple preview windows parked underneath the conference controls while in "See on Screen" mode. You can switch between webcam and screen share feeds by clicking on these windows.
Emoji and Raise Hand buttons

Pictured: The Emoji button.
Clicking the Emoji button reveals a menu of various emojis. When you then click on an emoji, it will be displayed in an animated burst above your avatar's head.

Pictured: The Raise Hand button.
Clicking the Raise Hand button animates your avatar, allowing them to raise their hand. A colorful hand icon will also appear over your avatar's head and remain there until you dismiss it by clicking the Raise Hand button again.
Submitting questions

Pictured: The Question button.
You can submit a question to the Moderator queue by clicking the Question button. Enter your question in the dialogue box that appears, and then click the Submit button.
Seats and gestures
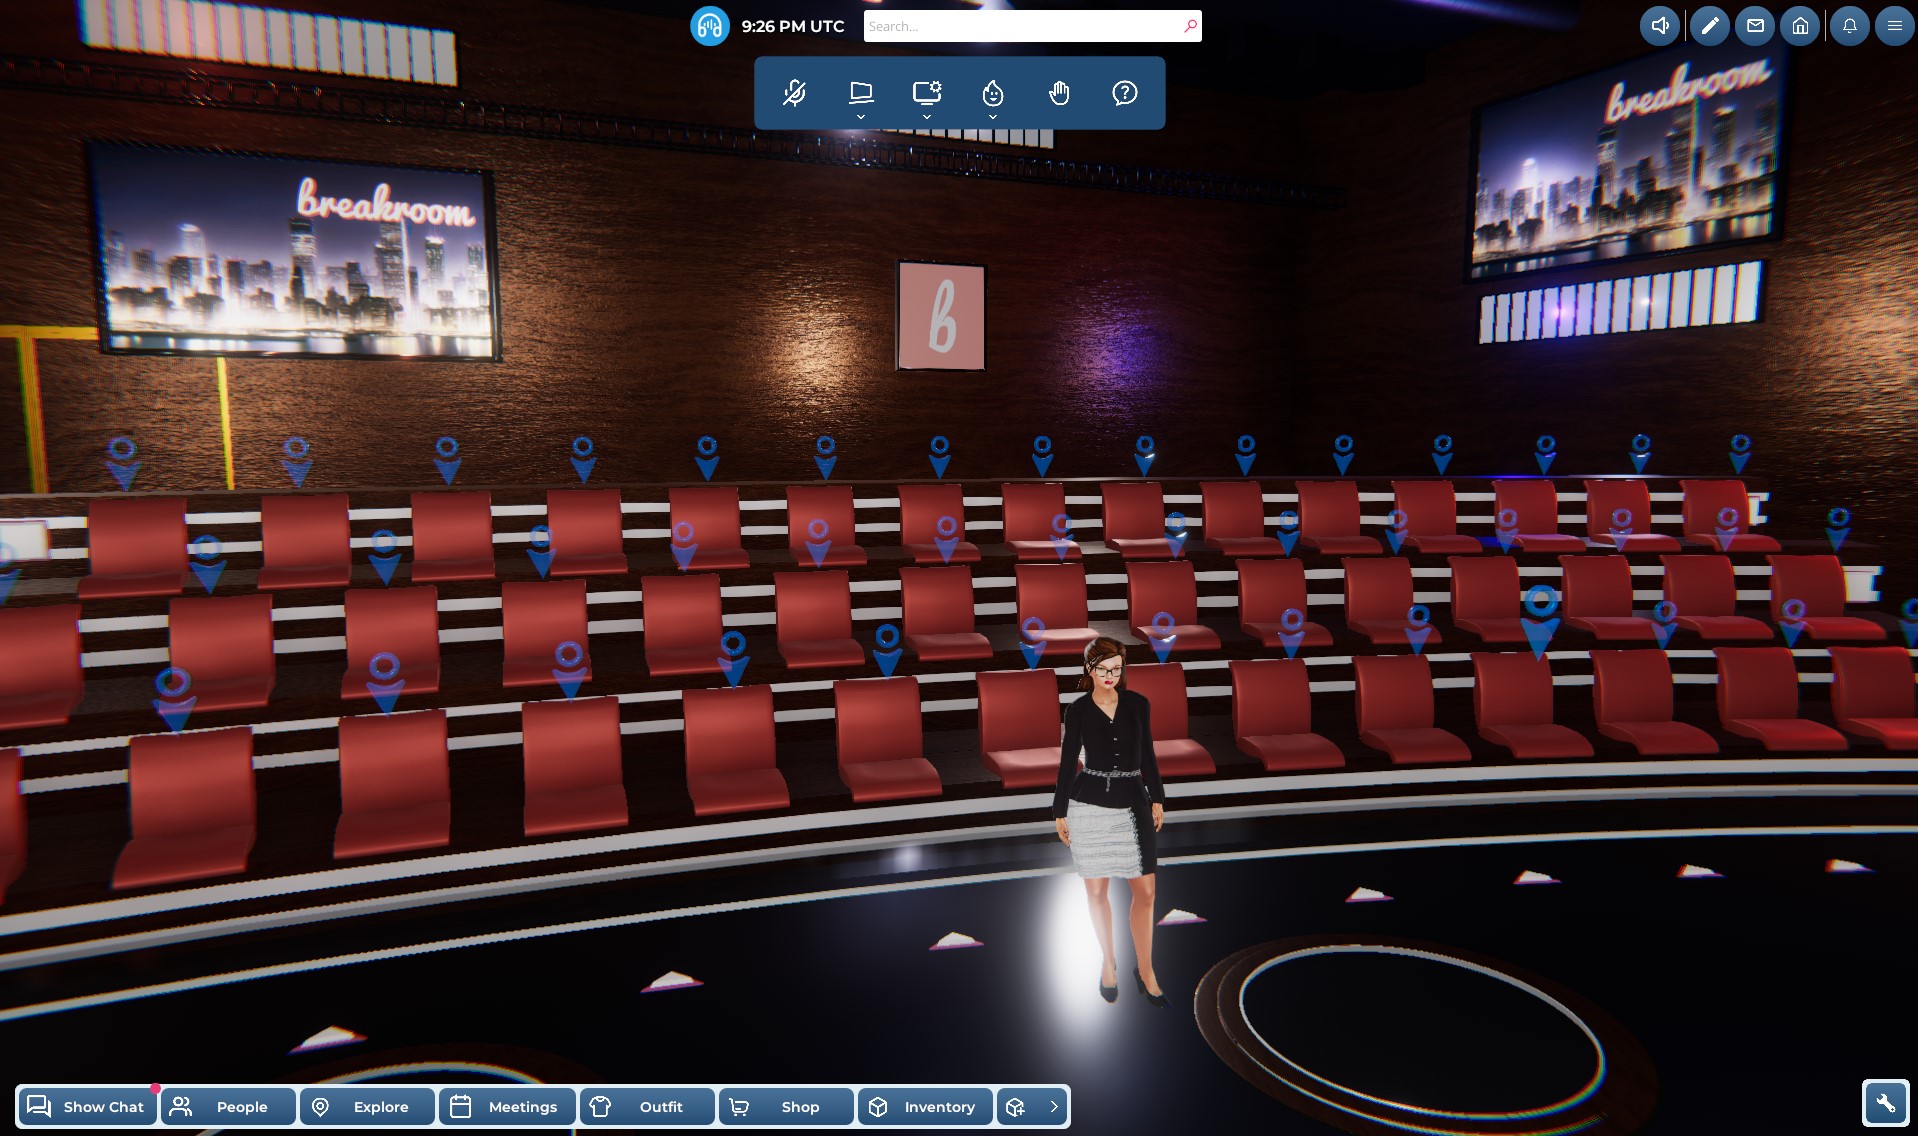
Pictured: A virtual auditorium. Note the blue tags hovering over the available seats.
When you enter an auditorium, breakout space, or any area that contains furniture designed to work with the Breakroom conference system, you will see blue tags hovering over the available seats. To sit down, click on a blue seat tag. To stand up again, click the Stand Up button that appears at the bottom of your screen.
Once you are seated, two new buttons will appear in the conference toolbar.
Animations button

Pictured: The Animations button.
Clicking on the Animations button allows you to emote via single-person gestures while seated.
Camera button

Pictured: The Camera button.
Clicking on the Camera button lets you adjust your current camera angle. The Free Look button releases your camera so that you can control it manually, using Breakroom's standard camera controls.
If the camera control buttons become unresponsive while you're seated in a chair, press the Esc key to exit fly camera mode.
Presenter seats
If you have been invited to make a presentation or participate in a roundtable discussion, you may be asked to stand or sit on a presenter seat. By using a presenter seat, you'll gain access to voice chat and media sharing functions within a particular voice zone, even if these functions are restricted for most visitors.
To take up a presenter seat, click on the blue seat tag indicated to you. Presenter seats are normally located in an obvious place, like on a stage or at the front of a breakout area. To leave the presenter seat, click the Stand Up button that appears at the bottom of your screen.
Breakout areas
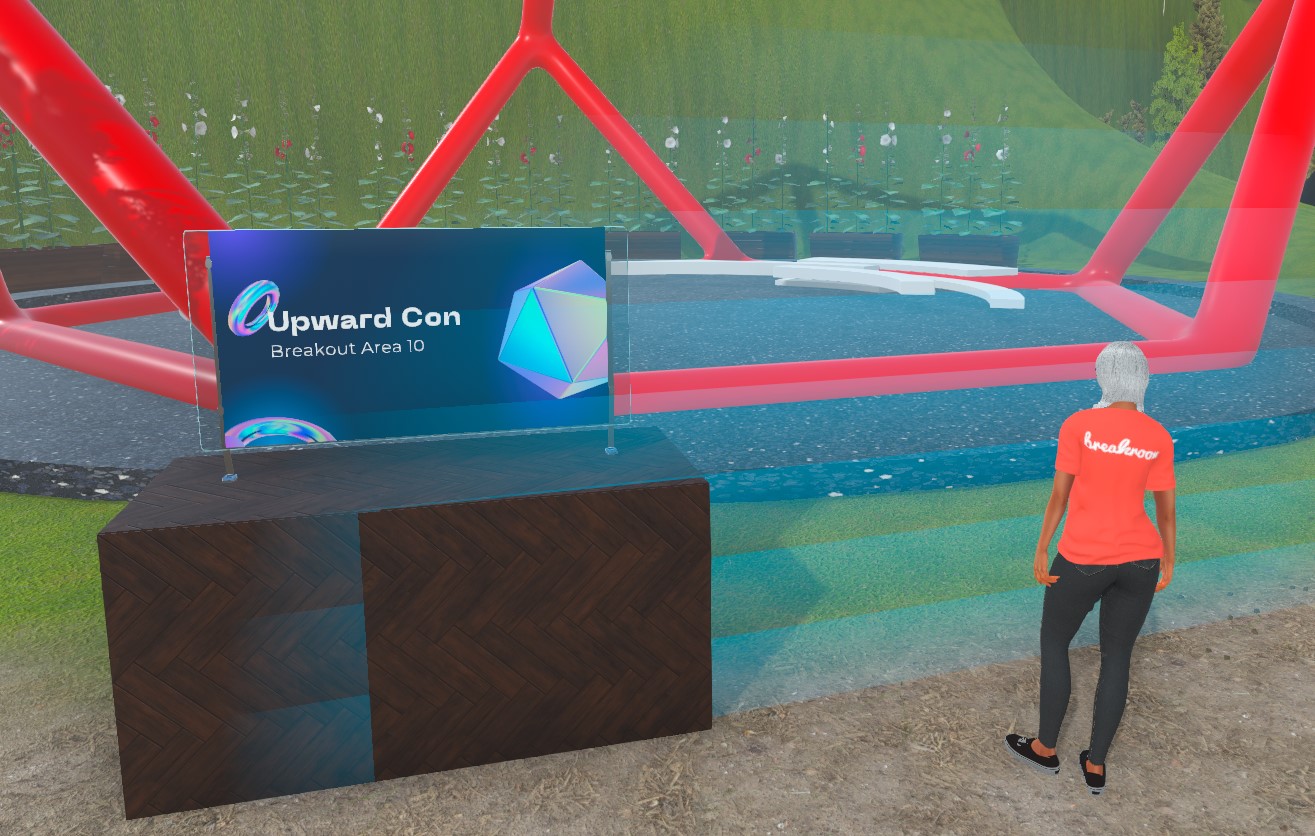
Pictured: An avatar on the threshold of a breakout area. Note the voice zone boundary indicator.
Most Breakroom Regions contain multiple voice zones. Only users with avatars located inside a particular voice zone can use voice chat, webcam streaming, and screen share to communicate with other users in that zone. This design makes it possible for different meetings or events to be held concurrently in the same Region without technical interference or audio competition.
When you approach the edge of a voice zone, a transparent blue boundary indicator will appear. This serves as a reminder that you are leaving your current voice zone and entering a new one.
Keep in mind that you may not be able to hear or speak with avatars located on the other side of a boundary indictor, even if you can see them. To use a breakout area, you will need to move your avatar inside.
Navigating an event
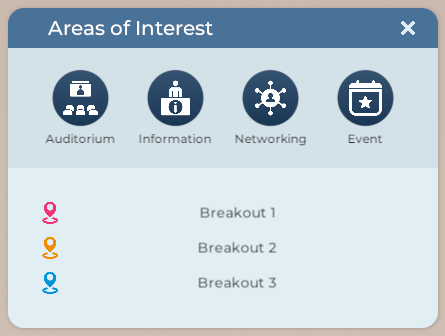
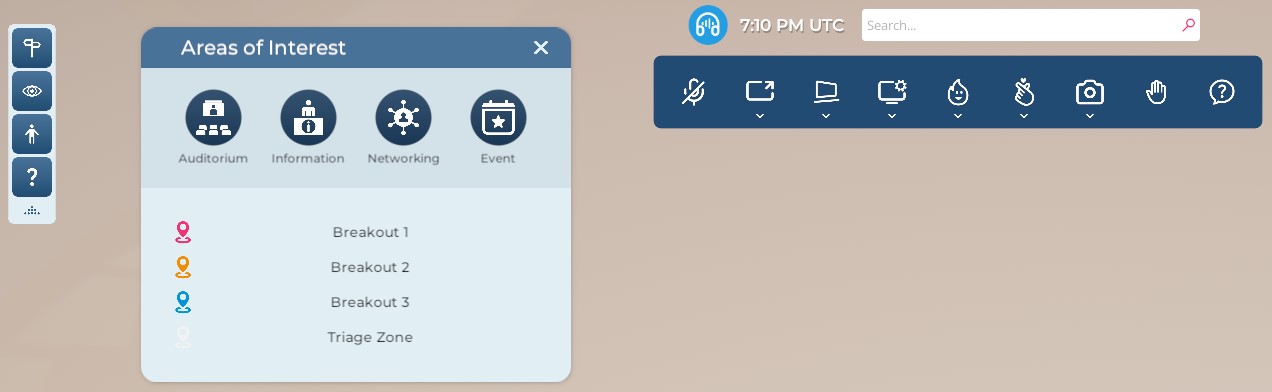
Pictured: An example Areas of Interest window.
In addition to Breakroom's Region navigation tools, the Areas of Interest window offers one-click teleport access to key event spaces. If seats are available, you will be seated automatically upon arrival.
To open it, click Signpost / Areas of Interest button in the Start Here panel. Here's a brief overview of the UI.
| Button | Target location |
| Auditorium | Teleports your avatar to the auditorium. |
| Entrance | Teleports your avatar to the Region entrance or to a designated information booth. |
| Networking | Teleports your avatar to the designated lounge or networking area. |
| Floor | Teleports your avatar to the main "floor" of the event (e.g. vendor booths, game area). |
| Breakout areas | Teleports your avatar to the specified breakout room or booth. |
| Triage areas | Teleports your avatar directly to a designated tech support area. |
The General Navigation panel's appearance can vary. Based on the contents of a particular Region, you may not see all of the teleport links pictured above. You may also see different icons for each area type (e.g., a cocktail glass instead of a coffee cup).