Breakroom Info Kiosk
Overview
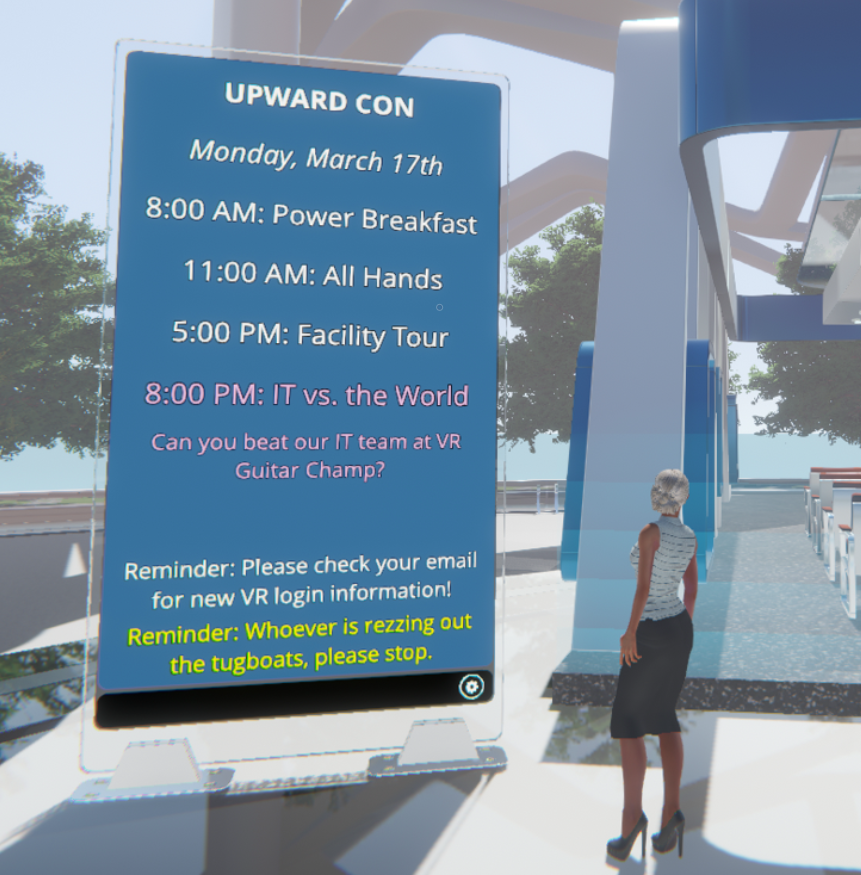
The Breakroom Info Kiosk allows Object Owners and users with appropriate World- or Region-level permissions to set up text-based signage and edit it as needed from within the Breakroom platform. Unity rich text tags can be used to customize the text display, making it ideal for publishing dynamic information like event schedules and technical updates.
In your Inventory, you'll see the Breakroom Info Kiosk represented by this icon: ![]()
For help installing the Breakroom Info Kiosk, please review our information on using the Region Editor.
In order for this Toolkit object to work, you must have the Breakroom conference core components installed in the same Region. If you have uploaded a custom Region, you will need to install these components manually prior to setting up this object.
Setting up the Breakroom Info Kiosk
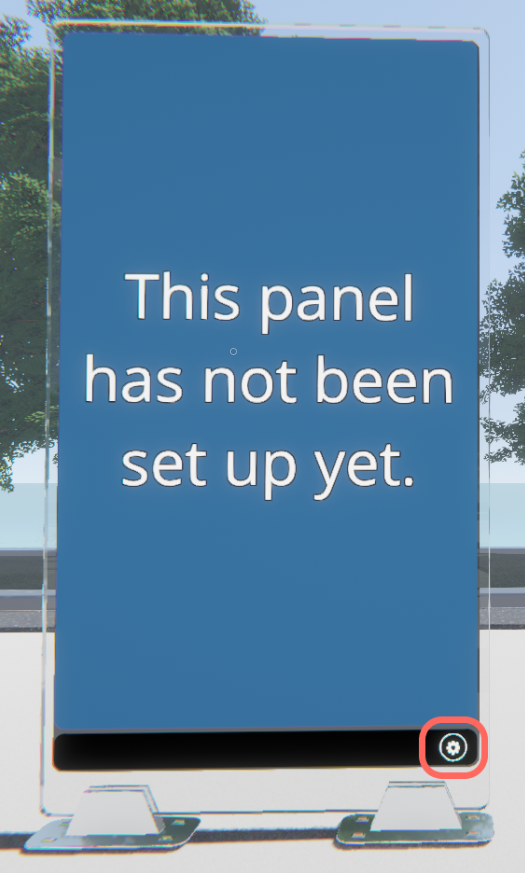
Highlighted: The location of the Breakroom Info Kiosk gear icon.
The Breakroom Info Kiosk control panel is only accessible to the Object Owner and users with appropriate World- or Region-level permissions. To access it, click on the gear icon.
Kiosk access and display settings
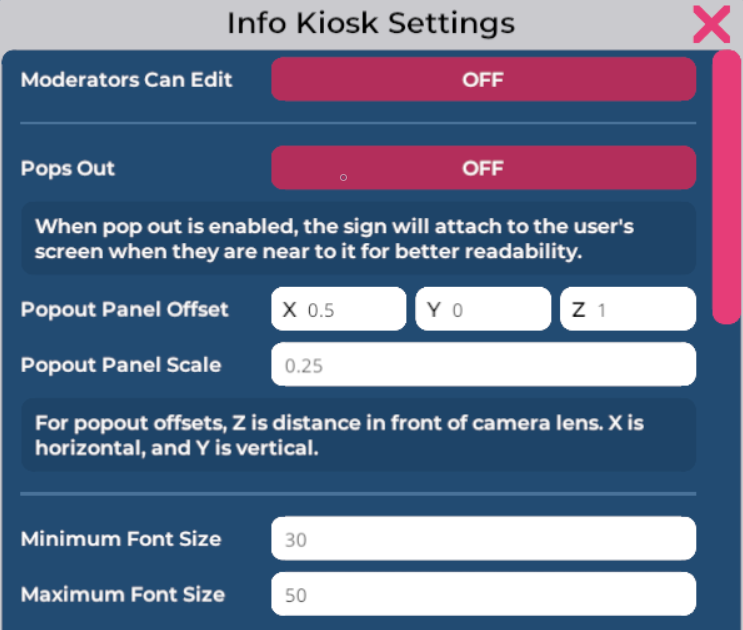
Pictured: The Breakroom Info Kiosk control panel.
Kiosk access and text display settings are the very first thing you'll see in the Breakroom Info Kiosk control panel. You can limit or permit Moderator access to the control panel, specify the kiosk's text size range, and more. These settings apply only to the individual kiosk.
To change the access and display settings, follow these steps:
- Locate the Breakroom Info Kiosk object you want to edit.
- Click on the gear icon to open the Breakroom Info Kiosk control panel.
- Click the ON or OFF button located next to each option.
- Click the Save and Close button.
| Info kiosk setting | Function |
|---|---|
| Moderators Can Edit | If set to ON, Moderators will be able to access the control panel. This means that they can edit the kiosk settings, delete existing text, and enter new text. |
| Pops Out | If set to ON, the kiosk will "pop out" to the user's screen when users enter the info kiosk collider zone. The offset and scale of this pop-out can be customized by entering values into the associated fields. |
| Minimum Font Size | Sets the smallest possible font size for the text display. |
| Maximum Font Size | Sets the largest possible font size for the text display. |
Entering text into the Breakroom Info Kiosk
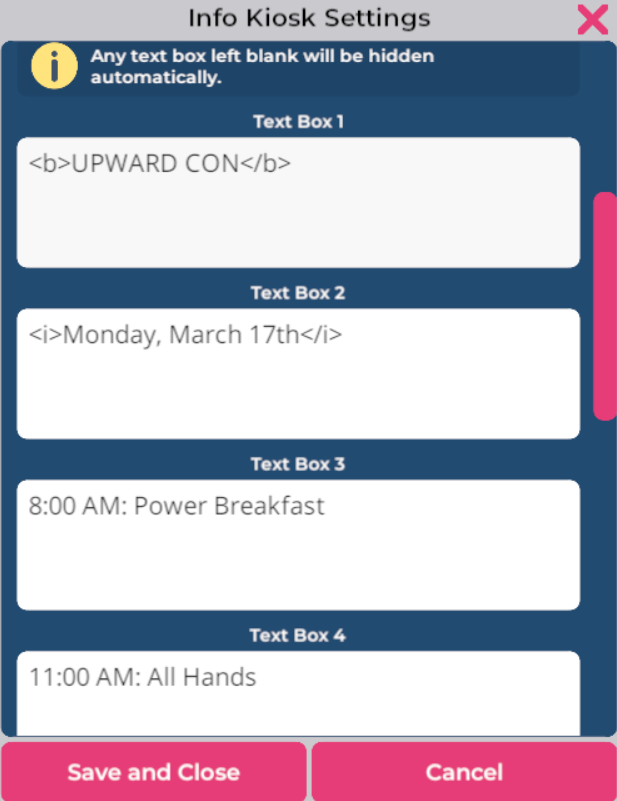
Pictured: The Breakroom Info Kiosk control panel contains ten separate text boxes.
The Breakroom Info Kiosk contains ten separate text boxes. You can enter text into one or all of these boxes. Depending on your chosen display settings, the text you enter will resize automatically.
To enter text into a Breakroom Info Kiosk, follow these steps:
- Locate the Breakroom Info Kiosk object you want to edit.
- Click on the gear icon to open the Breakroom Info Kiosk control panel.
- Type or paste your text into one or more of the text boxes.
- Click the Save and Close button.
Rich text support and style tips
- If you enter a single space into any text box and save your work, that field will appear as an empty line on the Breakroom Info Kiosk. This can be useful if you want to create white space between two lines of text.
- The following Unity rich text markup tags are supported, and you can use them to further customize your text.
- The color tag accepts most color keywords, but can also be used with a hex color code.
- The size tag will override any general min/max font settings made using the Breakroom Info Kiosk control panel. For more precise font size control, you may wish to set the minimum and maximum font size to the same value, and then use the size tag to edit your text as appropriate.
| Tag | Description | Use |
|---|---|---|
| <b> </b> | Bold | <b>Example</b> |
| <i> </i> | Italic | <i>Example</i> |
| <size= > </size> | Changes text size | <size=40>Example</size> |
| <color= > </color> | Changes text color | <color=red>Example</color> <color=#d694c8>Example</color> |
Editing the Breakroom Info Kiosk collider zone
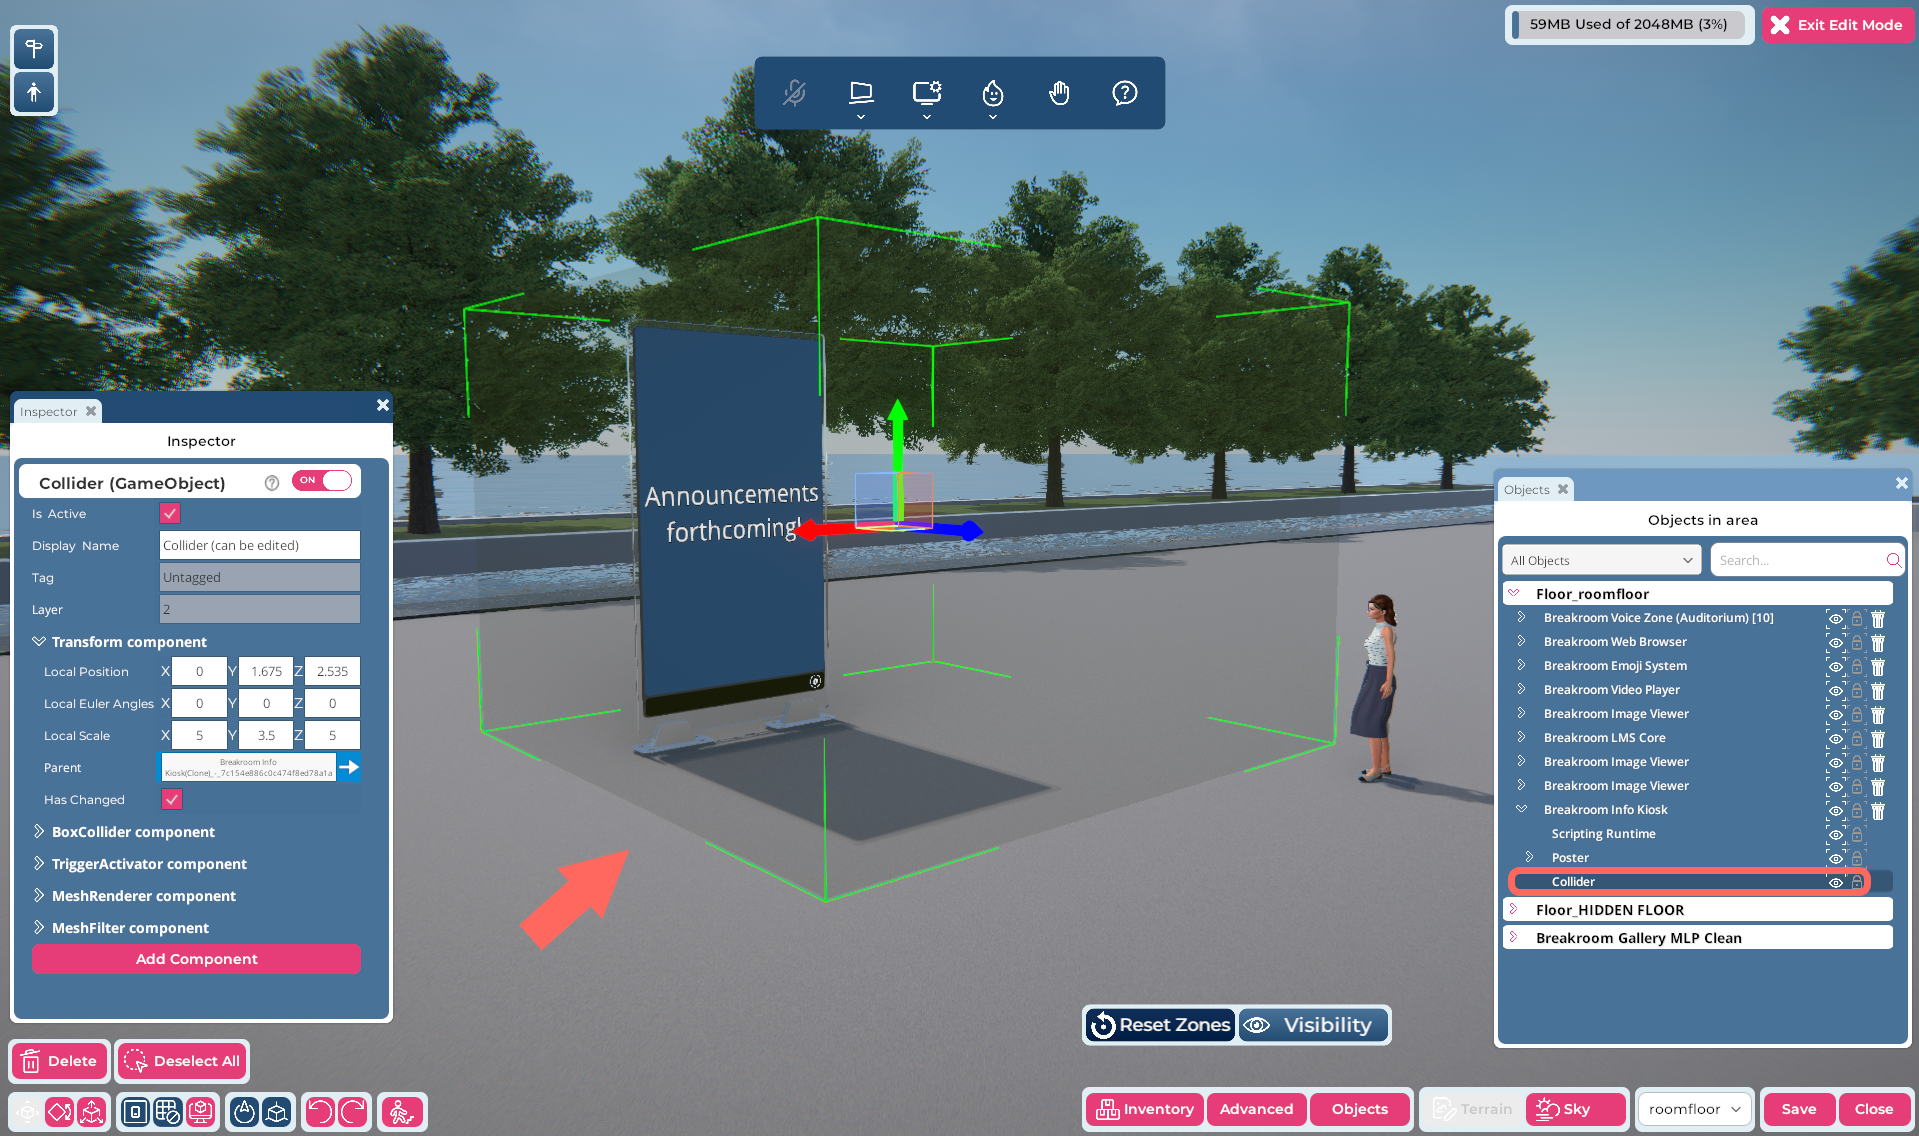
Pictured: The Region Editor, with a Breakroom Info Kiosk object selected. The transparent green box indicates the size and location of the collider zone. In the Objects window, you can see that the collider zone is nested within the Breakroom Info Kiosk object.
Some options are triggered when an avatar enters the Breakroom Info Kiosk collider zone. The size and position of this collider zone can be customized using the Region Editor.
The instructions provided below presume an advanced working knowledge of Breakroom. Please consult our documentation if you need help installing and positioning virtual objects or editing the RoomFurniture component.
To edit the Breakroom Info Kiosk collider zone, follow these steps:
- Open the Region Editor by clicking the Edit Region button in the top toolbar.
- Locate the Breakroom Info Kiosk object you want to edit. Click on it to highlight it in the Objects window.
- In the Objects window, click the > arrow to the left of the Breakroom Info Kiosk object to expand it. Then click on the Collider component.
- Using the Region Editor tools or the Transform component, move, rotate, and resize the collider to meet your specifications.
- When you are satisfied, click the Save button to store your changes.