The Region Editor ADVANCED window
Overview

Highlighted: The location of the Advanced button in the Region Editor function tray.
Users with the appropriate World- or Region-level permissions can access advanced Region Editor functions by clicking the Advanced button located in the function tray. There you can control floor access, swap materials on some Region template surfaces, toggle optional Region template design features, or reset a Region back to its default configuration.
The Area tab
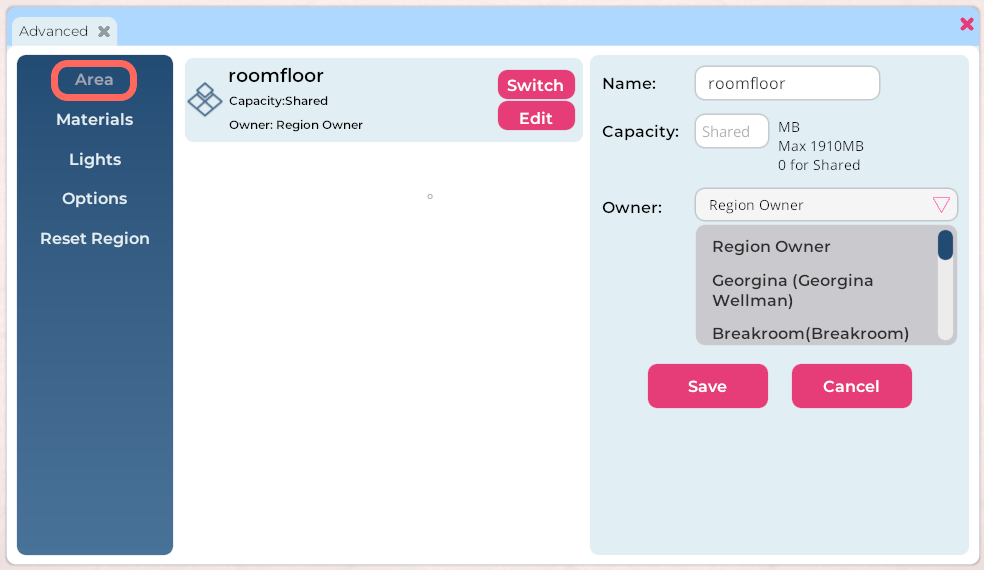
Pictured: The Area tab in the Region Editor Advanced window.
The Area tab allows you to change who owns the Region room floor. The room floor owner can move, delete, edit, and otherwise manage all items "filed" under that floor in the Objects window, even those set down by other people.
At this stage in Breakroom's development, this option has limited use. If you do want to change the room floor owner, follow these steps.
- Navigate to the Region that contains the room floor you want to reassign.
- Open the Region Editor by clicking the Edit Region button in the top toolbar.
- Open the Advanced window by clicking the Advanced button.
- Click on the Area tab.
- Locate the room floor, and click the Edit button.
- In the panel that appears, use the Owner drop-down menu to select one of your contacts as the new owner. If you want to revert ownership back to yourself, select "Region Owner" in the drop-down menu.
- Click the Save button.
The Materials tab
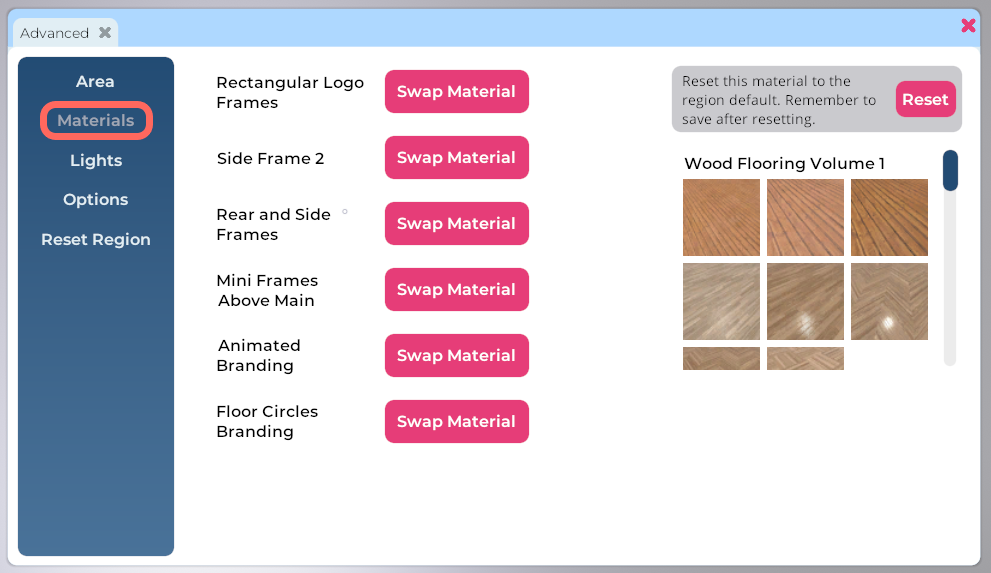
Pictured: The Materials tab in the Region Editor Advanced window.
If a Region template includes material-enabled surfaces, you can change those materials at any time through the Materials tab. This is a quick, easy way to achieve fresh visual effects using existing Region templates.
Purchasing materials in the Shop

Pictured: The Shop window, filtered to display the Furniture > Materials category.
In order to swap out materials in a Region template, you will first need to purchase alternative material files. These are available through the Sine Wave Shop. To open the Shop and navigate directly to the materials category, follow these steps.
- Click on the Shop button located in the bottom toolbar.
- Click the Furniture tab located along the top of the Shop window.
- Click the Materials subcategory in the left-hand menu.
Once there, you can browse through the available files at your convenience. Please be advised that some materials come bundled in packs, while others are sold as single files. For help completing your purchase, please review our detailed Shop instructions.
Swapping materials on a Region surface
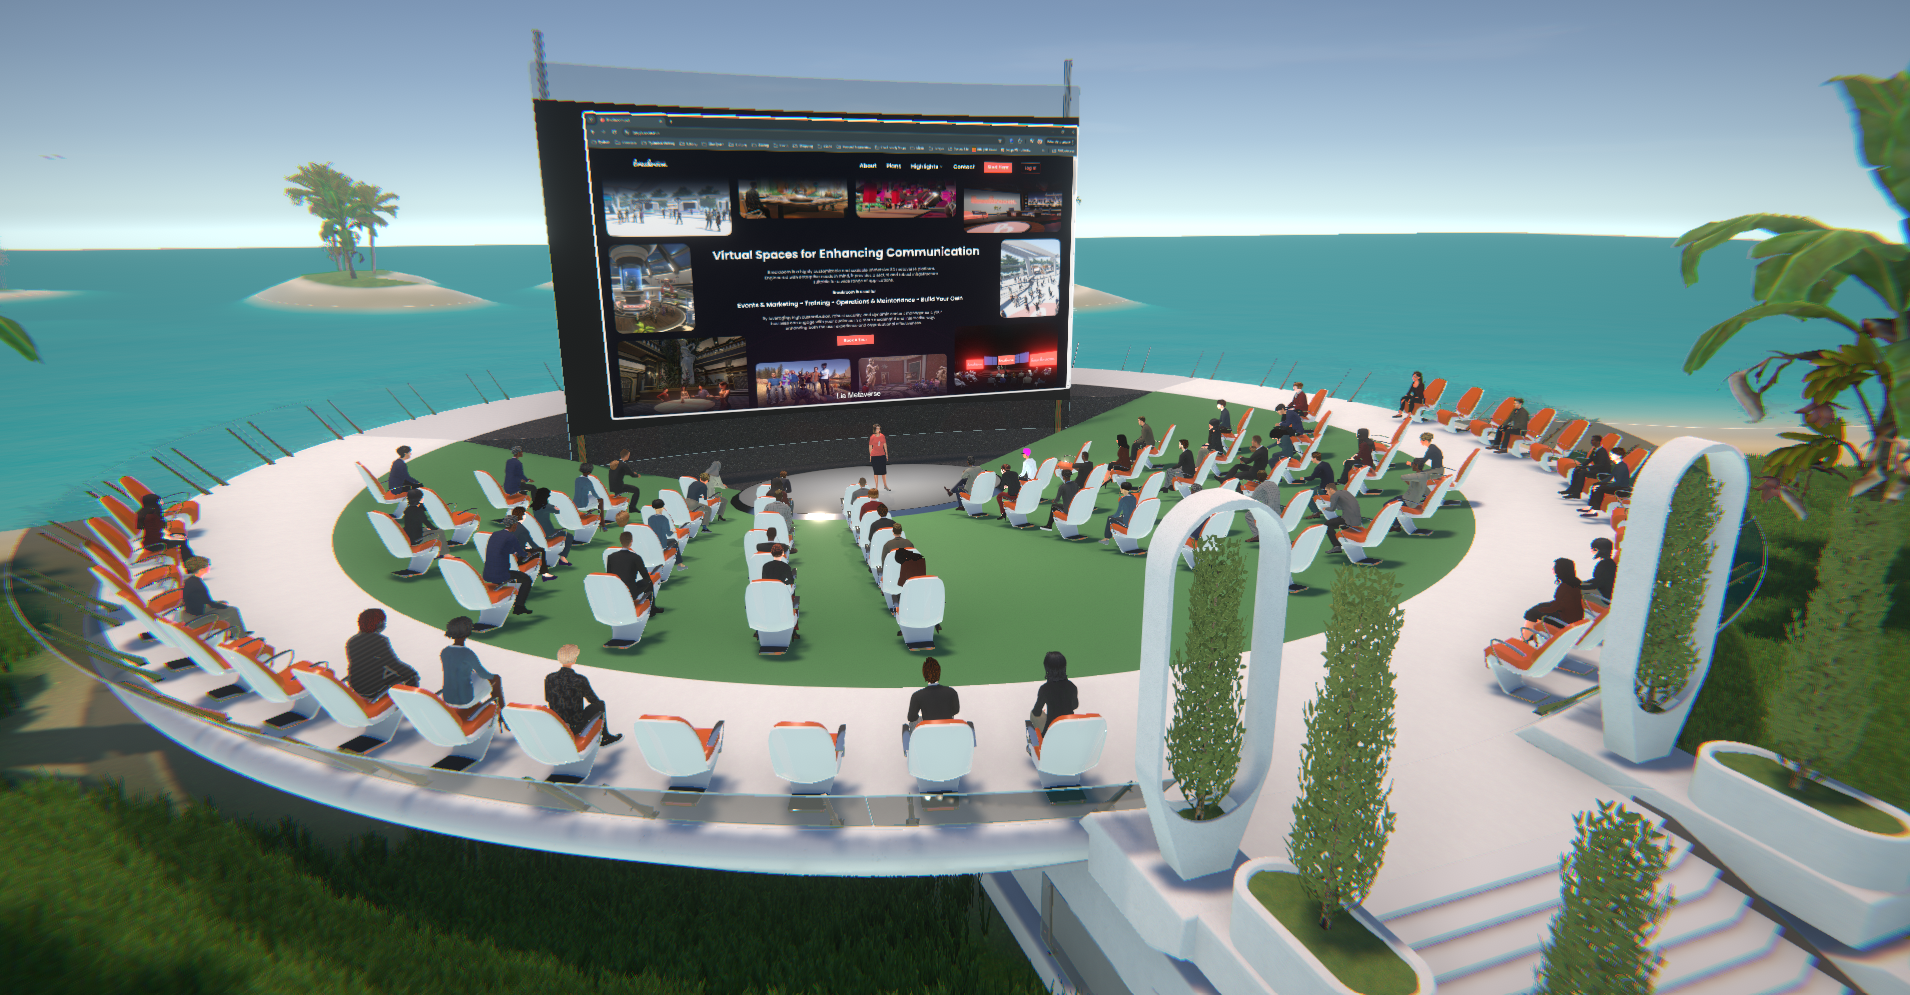
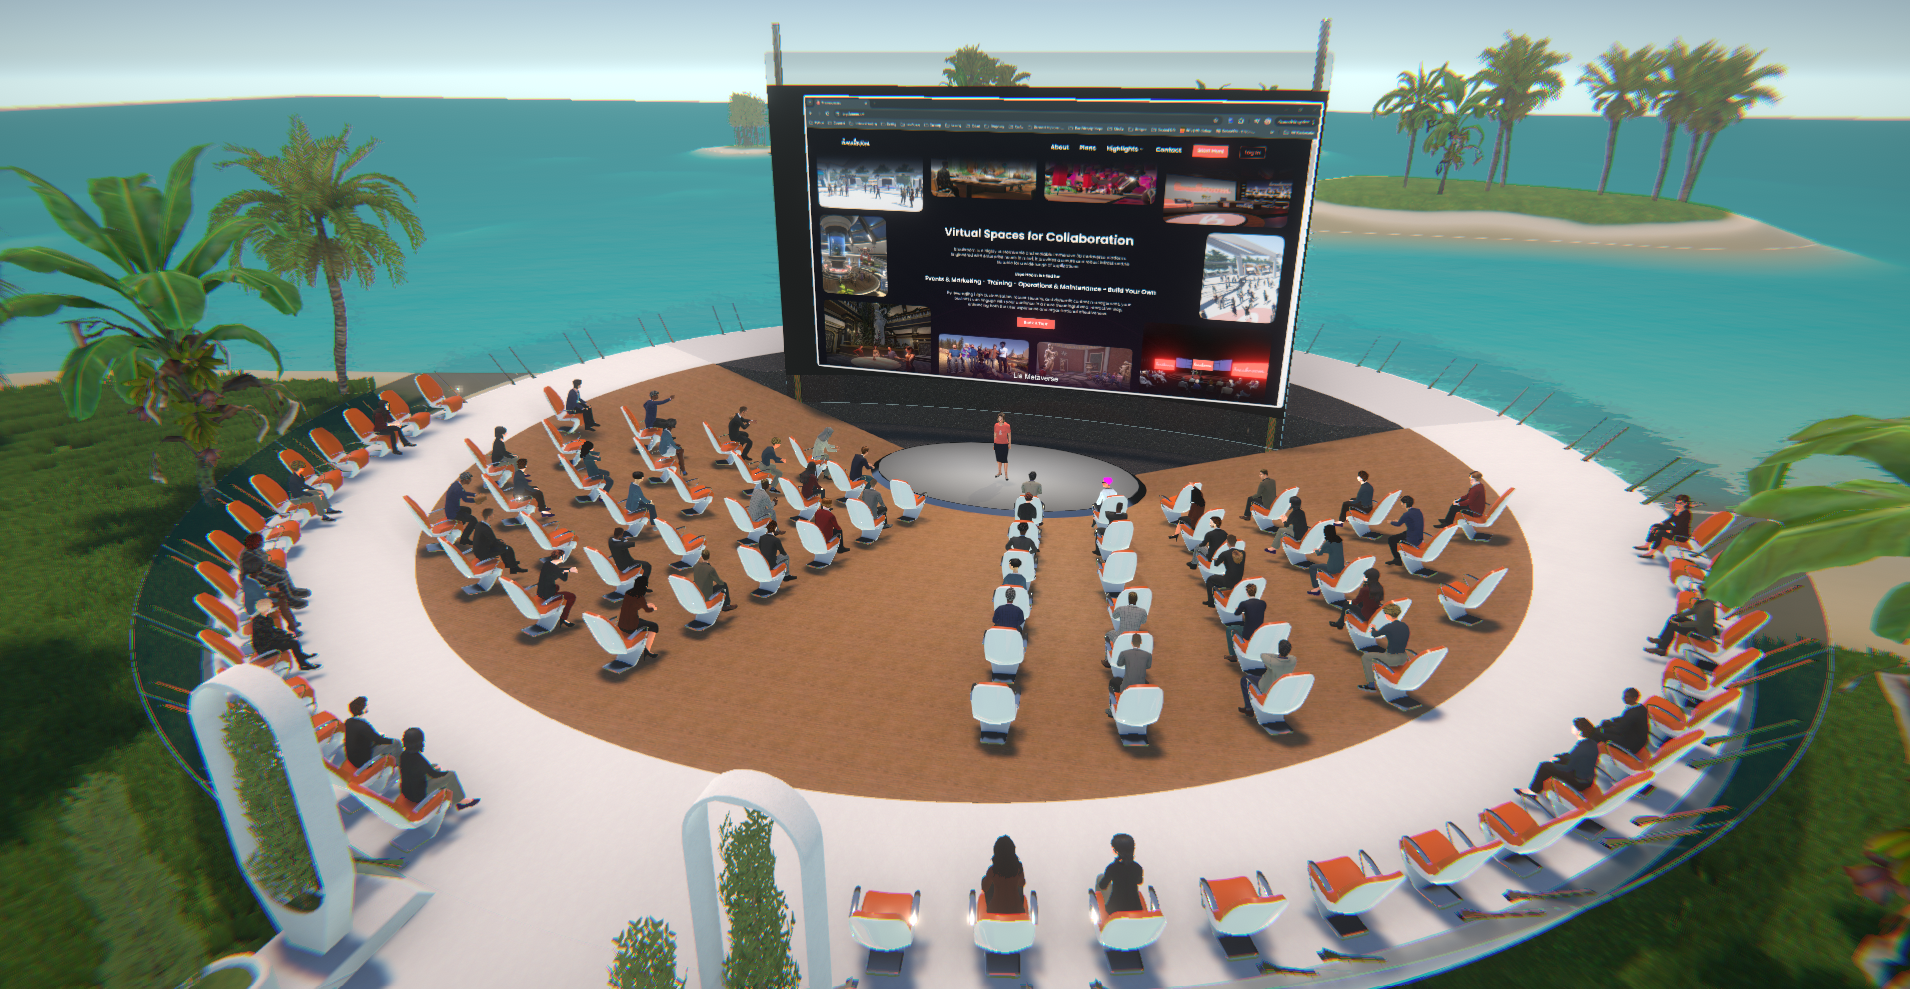
Pictured: The standard 90-seat auditorium installed in the Breakroom Desert Island Region template.
To illustrate the effects of a material swap and create a walkthrough tutorial, we will change the 90-seat auditorium stage surface in the Desert Island Region template. As you can see in the image above, the stage surface defaults to non-slip green flooring.
To access the material swap feature, follow the steps below.
- Navigate to the Region you want to edit.
- Open the Region Editor by clicking the Edit Region button in the top toolbar.
- Open the Advanced window by clicking the Advanced button.
- Click on the Materials tab.
- If there are any material-enabled surfaces in the Region, you will see them listed under this tab. To change a particular material, click the Swap Material button located to the right of the surface name.
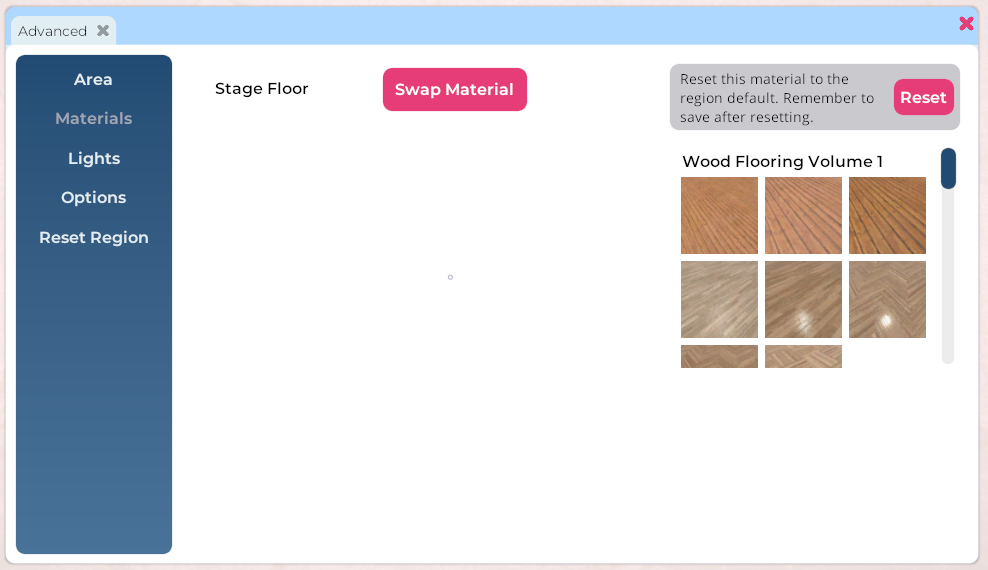
Pictured: The Region Editor > Advanced window > Materials tab. This Region has one swappable material point.
- If you have materials in your Inventory, these will be displayed on the right side. Click on the material you want to use.
- Once you're satisfied with your changes, click the Save and Close buttons in the lower right corner of the Region Editor.
Pictured: The same 90-seat auditorium, now with a wooden floor.
Here you can see that we have replaced the non-slip green floor with wooden decking material from the Wood Flooring Volume 1 materials pack by Trilo Byte Design. The effect is immediate, as the stage looks more organic and thus reflects the tropical environment.
The Lights tab
Like the Materials tab, the Lights tab allows you to make changes to real-time lighting fixtures. Currently, there are no Breakroom Region templates equipped with modifiable lighting.
The Options tab
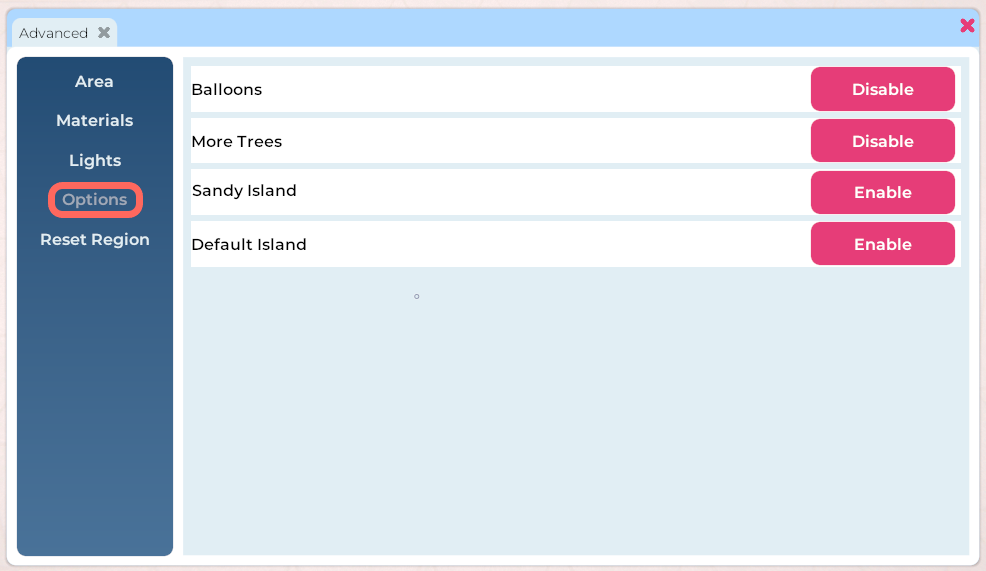
Pictured: The Options tab in the Region Editor Advanced window.
Some Region templates come equipped with additional customization settings that can be toggled through the Options tab. This may include things like tree density, specific material effects, animated scenery, and more. To toggle any these settings, follow the steps below.
- Navigate to the Region you want to edit.
- Open the Region Editor by clicking the Edit Region button in the top toolbar.
- Open the Advanced window by clicking the Advanced button.
- Click on the Options tab.
- Locate the setting you want to toggle and click the relevant Enable/Disable button.
- Once you're satisfied with your changes, click the Save and Close buttons in the lower right corner of the Region Editor.
The Reset Region tab

Pictured: The Reset Region tab in the Region Editor Advanced window.
The Reset Region tab can be used to revert all or part of a Region back to default settings. Clicking any of these buttons can result in dramatic and wide-ranging effects, so it's important to understand how they work.
Reset Components button
Clicking the Reset Components button will reset every component attached to every object in the Region, restoring their default settings. This includes:
- The Transform component, which affects object location and rotation
- The RoomFurniture component, which can affect custom voice zones
- The ScriptingData component, which can affect custom screen setups, etc.
Only click this button if you want to reset the components attached to every object without deleting those objects from your Region.
Reset Materials button
Clicking the Reset Materials button will restore the default materials on any material-enabled surfaces that you have edited.
Reset Region button
Clicking the Reset Region button will delete all custom changes that have been made to a Region. This includes deleting any virtual items that have been added to your Region. Please think carefully before you restore a Region to its default settings.
It bears repeating—please consider the consequences before you click any of the Reset Region buttons. Using these buttons can destroy any or all custom work you have done in a Region. Your deleted work will not be recoverable.